W3Smart Wallet Tutorial: Guide to test W3Smart Wallet
W3Smart Wallet is currently deployed on the testnet of BNB Smart Chain and Polygon. Here is a guide on how to test W3Smart Wallet on testnet.
Create your account
W3Smart Wallet supports multiple account registration methods. Currently we are supporting two methods: Email/password and Google Sign-in.
Sign up with email and password
Step 1: Go to https://beta-w3w.smartosc.com/sign-up
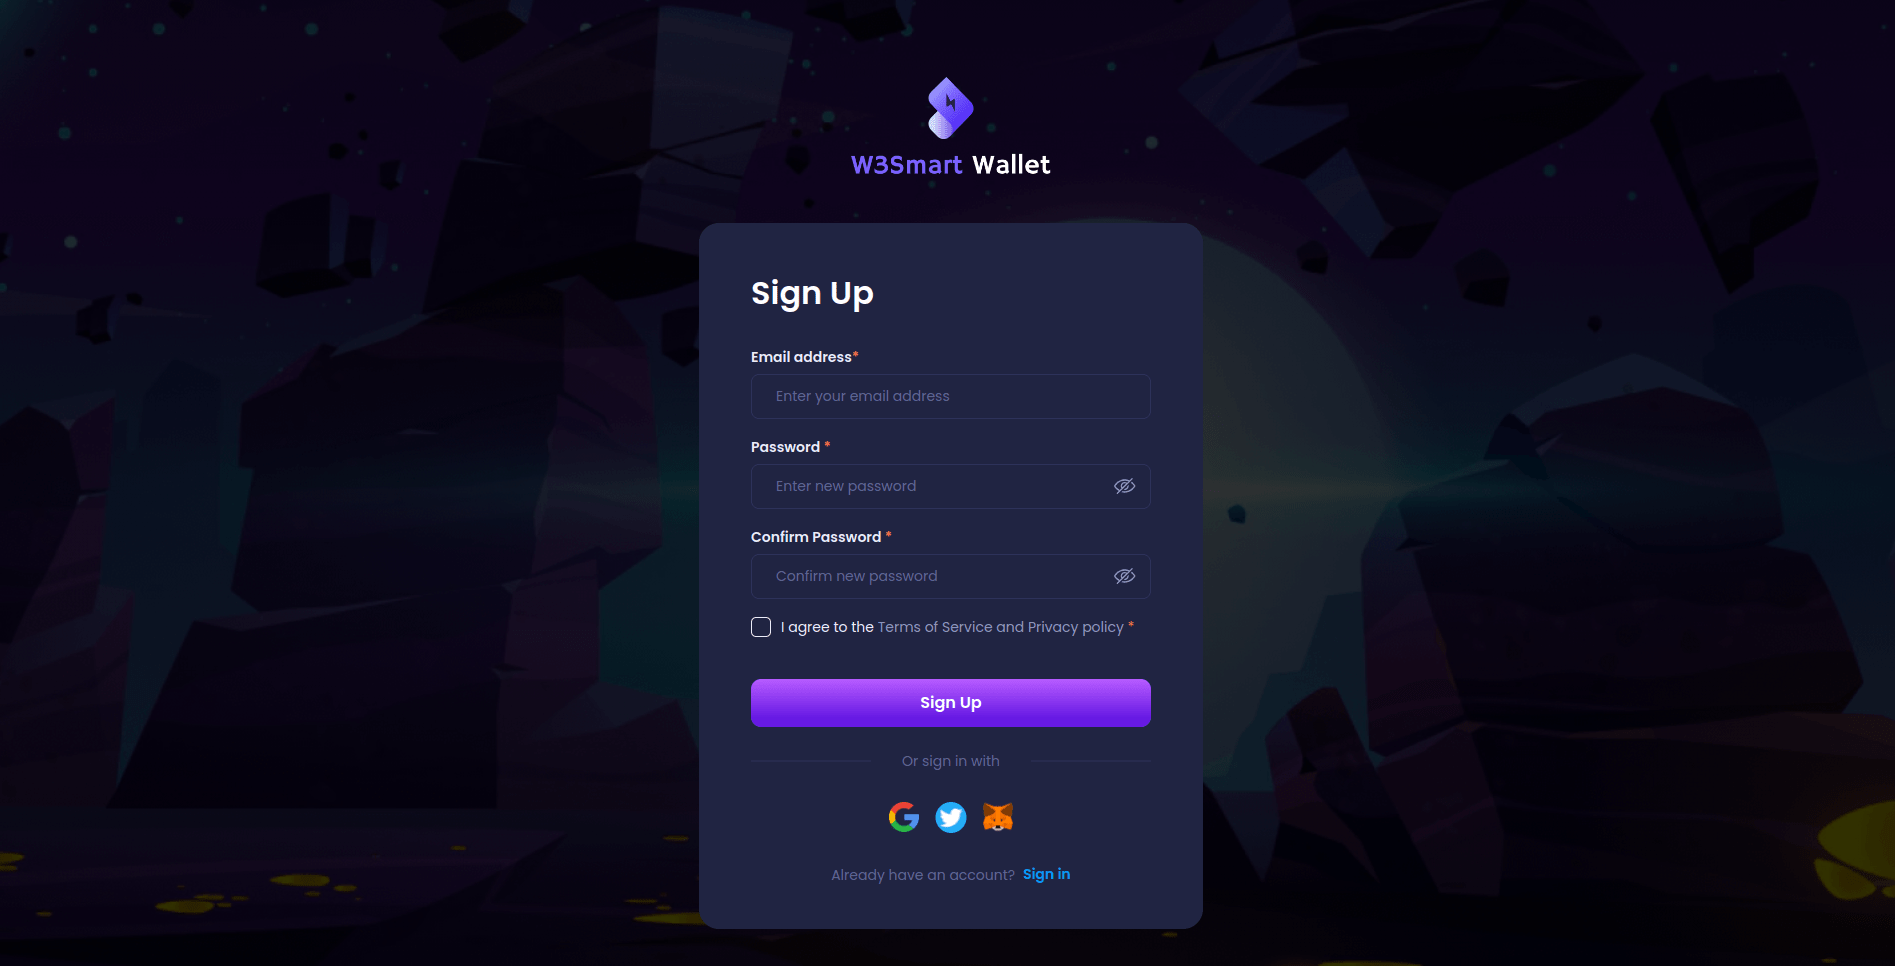
Step 2: Enter account information
Enter your email address, password and click on button ‘Sign Up’
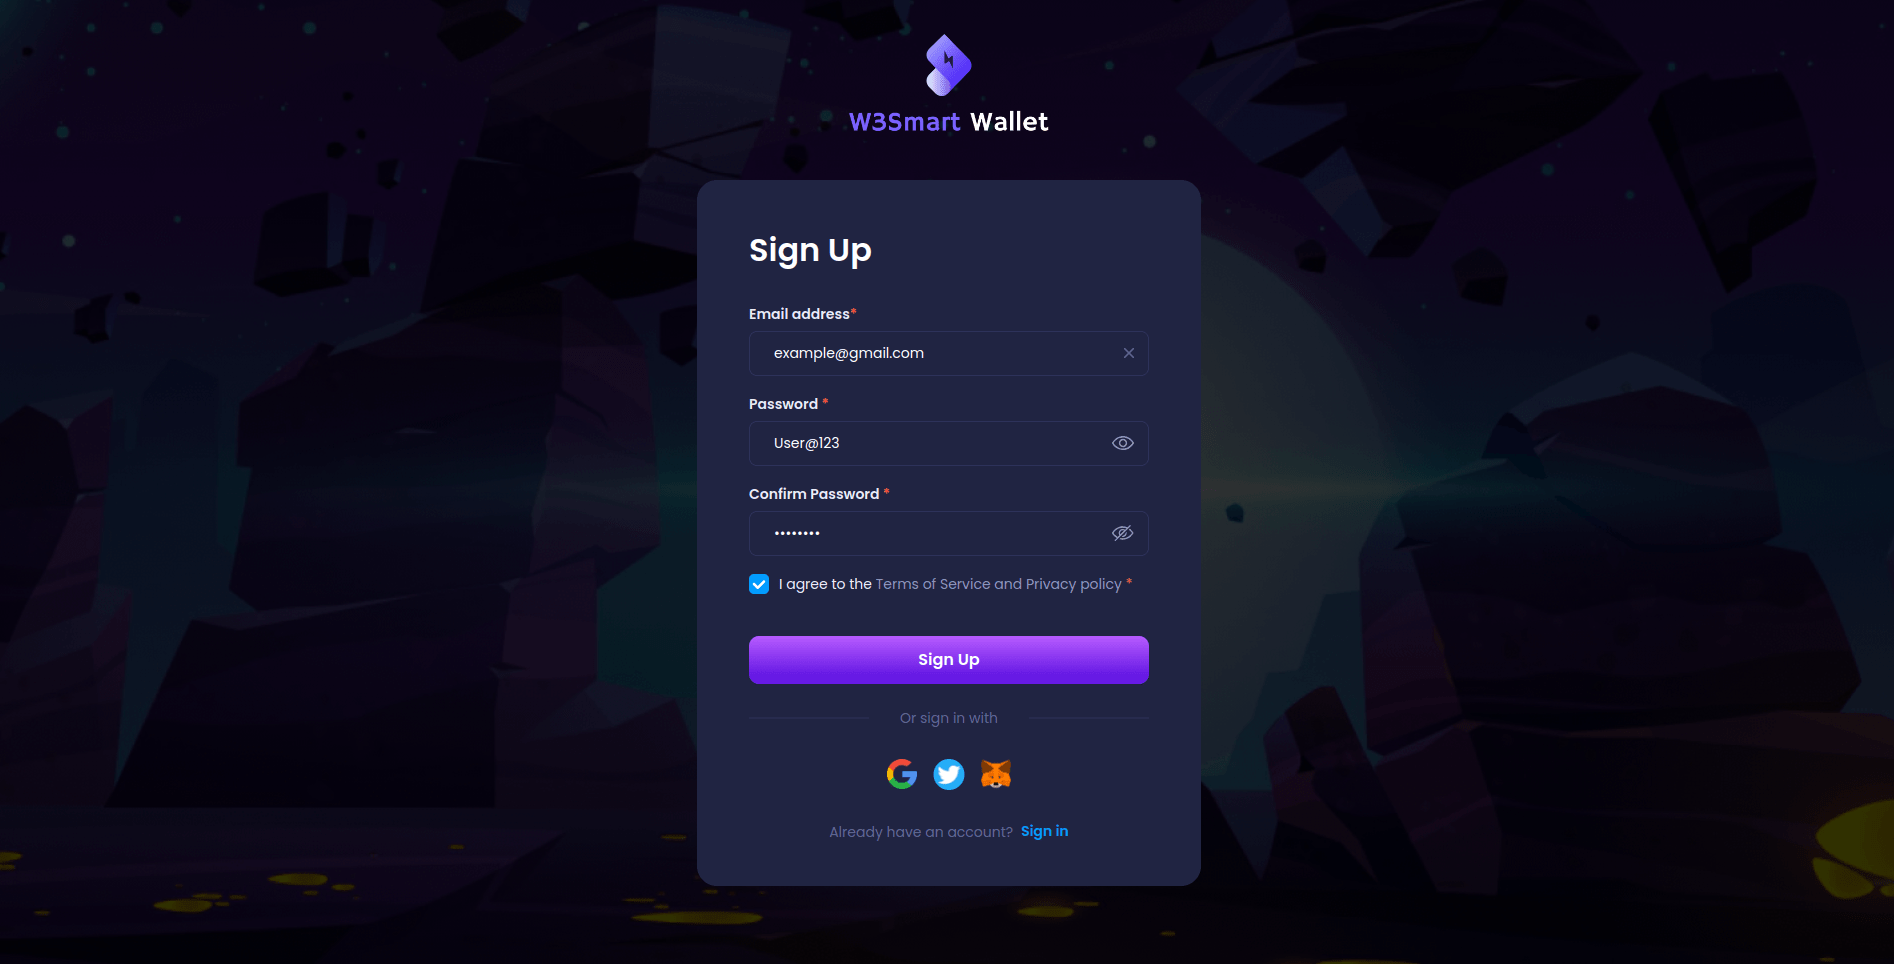
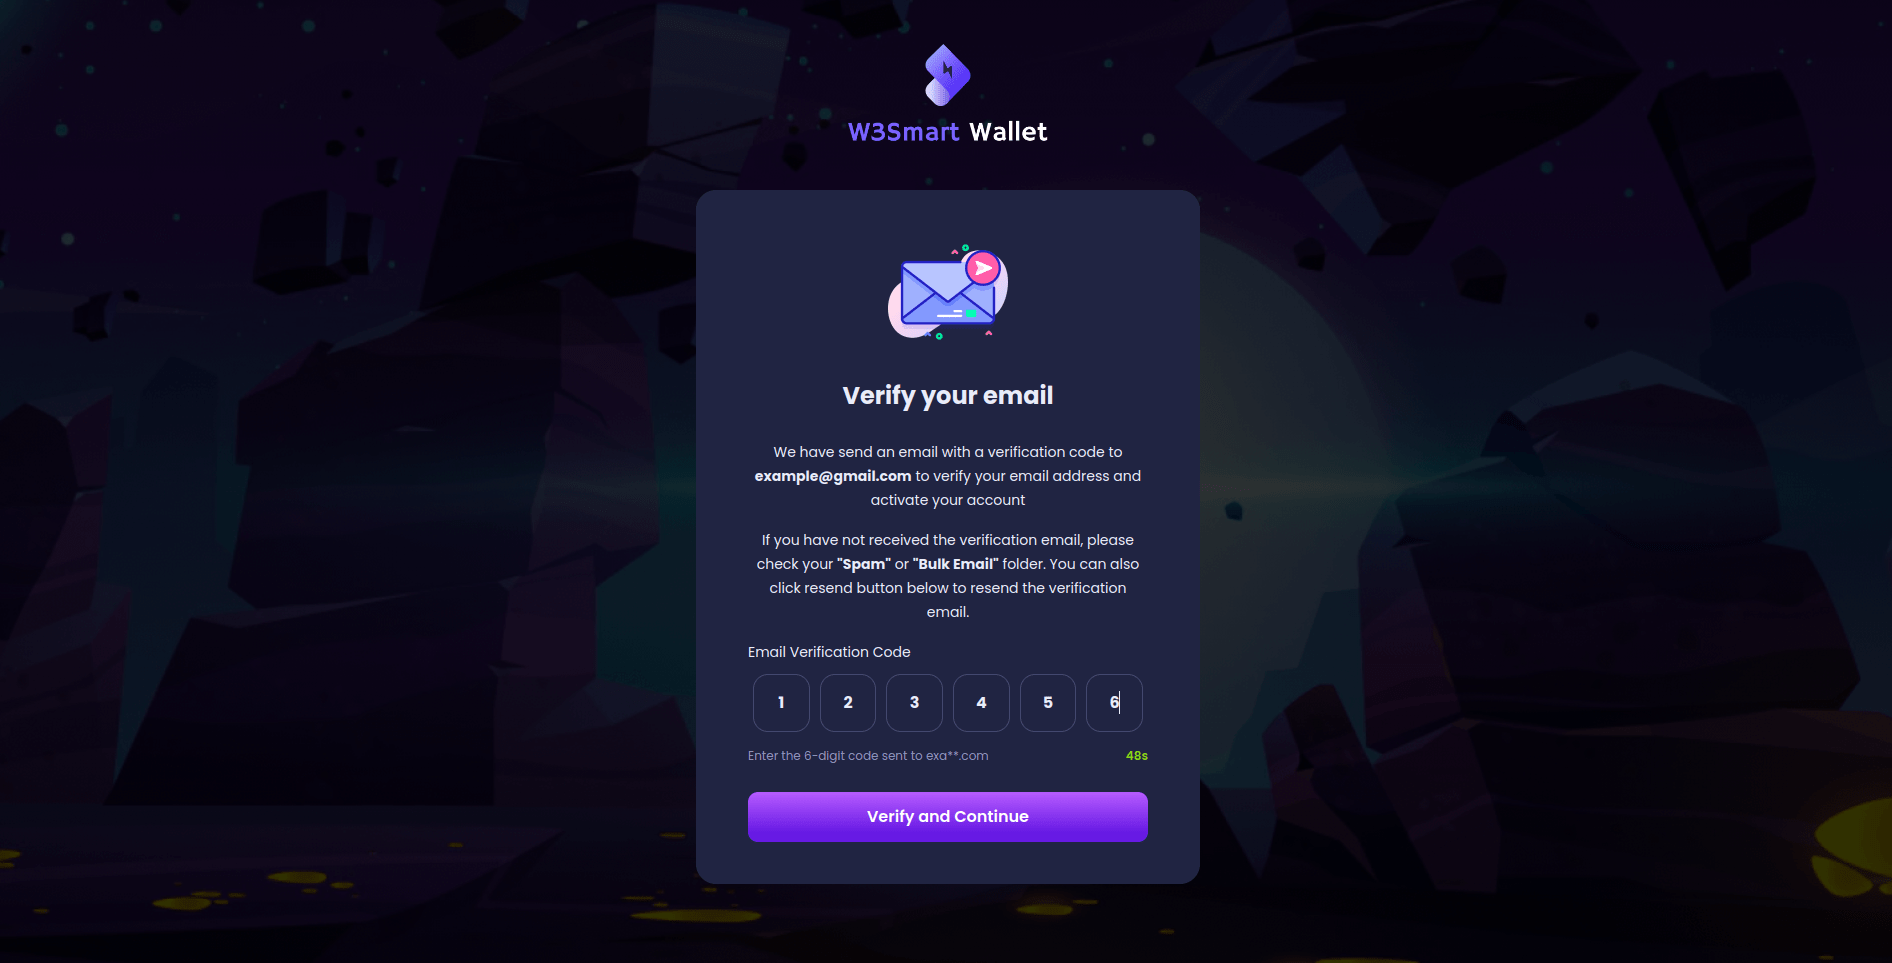
Step 3: Verify your email address
You would have received an email with a 6-digit code to verify your email address. Enter code in Security Verification screen.
In case the email is not in your inbox, please check the Spam folder. If it is in the spam folder, mark the mail as “Not Spam” to let your email server know that W3Smart Wallet is a trustworthy source.
Step 4: Create your passcode
This passcode is used for security, withdrawal and payment service. It is used as a key to sign all your transactions. In case you forget your passcode, you will have to rely on the support of Guardian and pay the recovery fee to restore access to your account.
Enter your passcode and click on button ‘Confirm’
Step 5: That’s it, you’re done creating your W3Smart Wallet account!
Sign in/Sign up with Google
You can also test W3Smart Wallet by signing up with Google Account.
Step 1: Go to the W3Smart Wallet - A one-stop wallet for effortless Web3 Gaming onboarding (smartosc.com) and click on icon ‘Google’
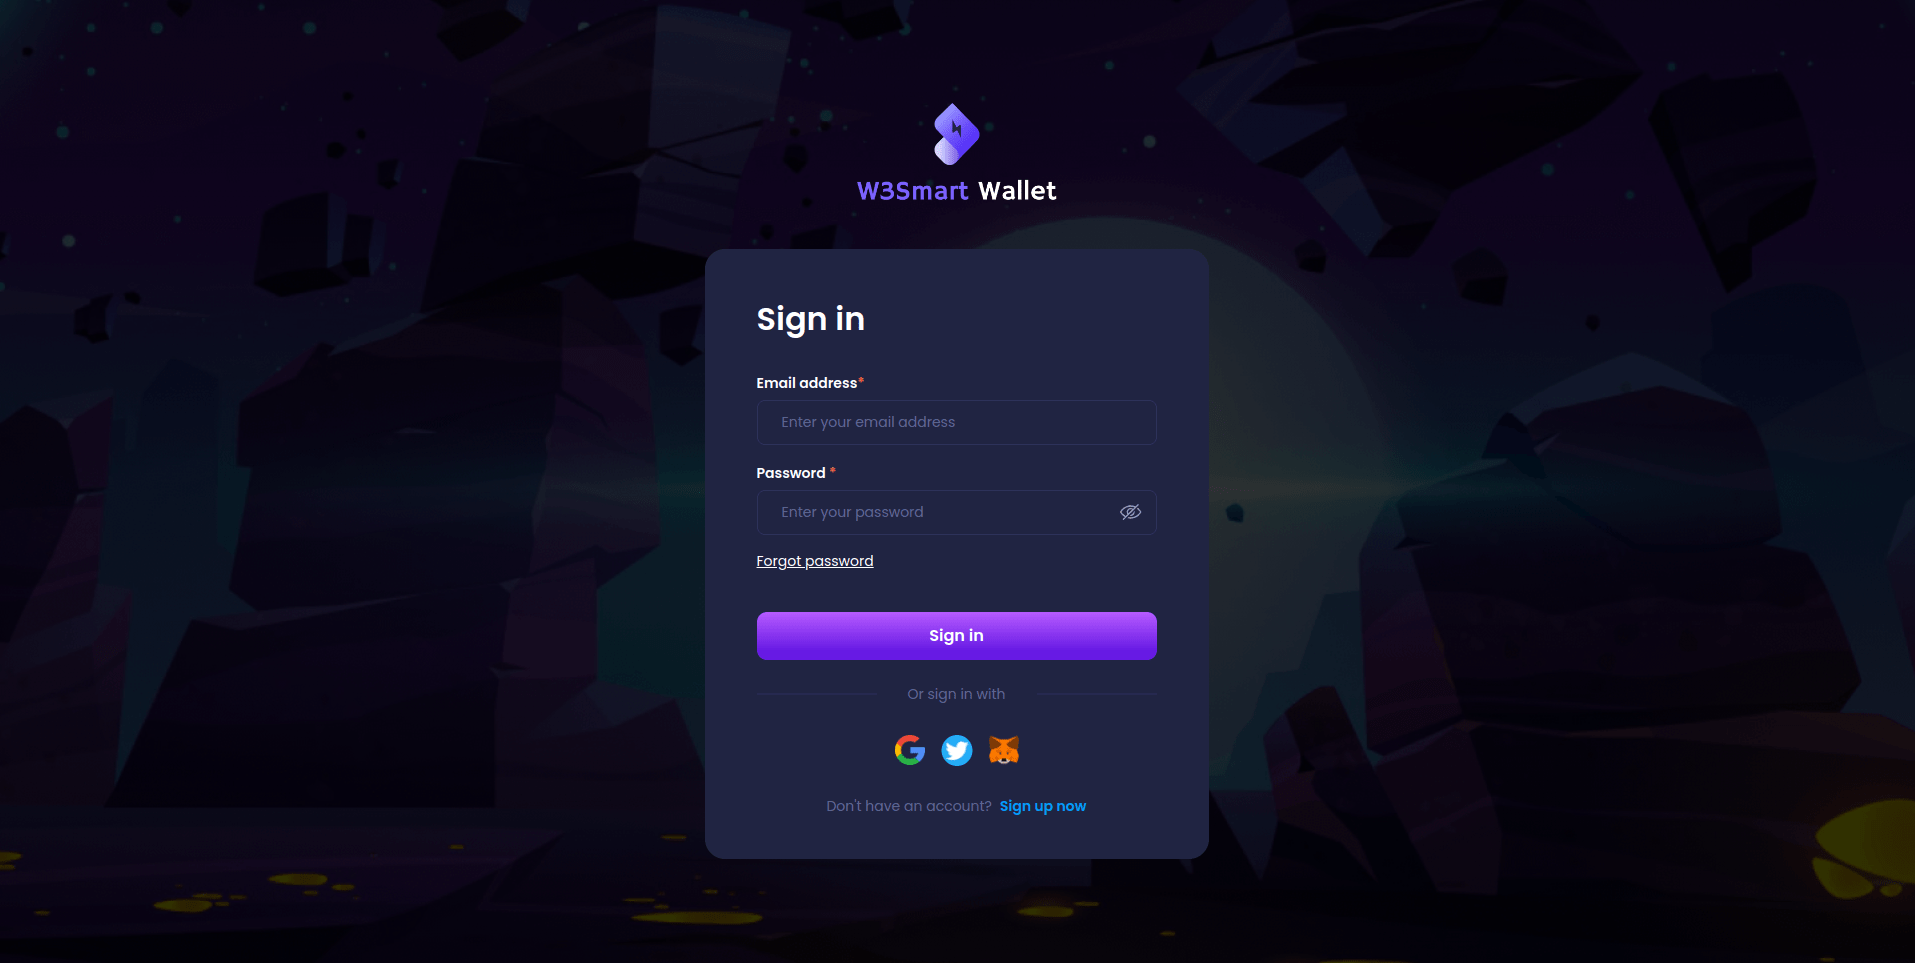
Step 2: Input information in Google's browser. Once you login with Google successfully, your W3Smart Wallet account will be created and verified.
Step 3: Create your passcode
This passcode is used for security, withdrawal and payment service. In case you forget your passcode, you will have Forgot Passcode and pay the recovery fee to restore access to your account.
Enter your passcode and click on button ‘Confirm’
That's when you have finished creating your W3Smart Wallet account.
Get Test Tokens
To get tokens to test W3Smart Wallet on testnet, please follow this guide to faucet tokens.
1. Faucet MATIC token for Polygon testnet
1.1. Faucet Matic token on Polygon Faucet
You can faucet 0.2 MATIC every two minutes
Step 1: Go to https://faucet.polygon.technology/
Step 2: Select network, token, enterand fill wallet address and click on ‘Submit’ button
- Select Network: Mumbai
- Select Token: MATIC Token
- Fill Wallet Address: your wallet address
1.2. Faucet Matic token on Mumbai Faucet
You can faucet 0.5 Mumbai MATIC every 24 hours
Step 1: Go to https://mumbaifaucet.com/
Step 2: Enter your wallet address and click on ‘Send Me MATIC’ button
2. Faucet BNB token for BNB Smart Chain testnet
Step 1: Go to https://testnet.bnbchain.org/faucet-smart
Step 2: Input wallet address and click on ‘Give me BNB’ select box, then choose 0.1BNB
Getting started with W3Smart Wallet
W3Smart Wallet account is not deployed when created. It is only deployed when you perform the first transaction. Thus, the first transaction will cost you a higher fee than usual because of the deployment fee.
Deposit token
You can get an address to deposit a token from another wallet/exchange to this wallet. Furthermore, you can buy a token with Fiat.
Set up Guardians
Guardians can help protect and recover your wallet under attack.
Go to the Guardians page and set up. After setting up Guardians, your transactions will need multisignature to execute.
Set up Whitelist
Let’s set up your whitelist for more convenient transactions. You can send funds to people in your whitelist without needing the guardian’s approval.
You only need to go to the Whitelist page, setup at least an account in the whitelist.
Trading
You can see tokens and NFTs for sale. Let's start buying your game items.
My Assets, History
View the total balance amount of tokens you have on the network, balance chart, your tokens, and your NFTs,...
In history, you can view transaction history and system operations history to track your transaction execution.
To try out W3Smart Wallet, go to link.


